> For the complete documentation index, see [llms.txt](https://docs.pockethrms.com/llms.txt). Markdown versions of documentation pages are available by appending `.md` to page URLs; this page is available as [Markdown](https://docs.pockethrms.com/hr-and-admin-portal/cloud-configuration/leave/leave-opening.md).
# Leave Opening
**Pocket HRMS** allow users schedule interviews, process onboarding, etc. with just a few clicks. It is an end-to-end Human Resource Management System. Every HR responsibility like creating job templates, scheduling interview rounds, shortlisting candidates, generating offer letter, etc. can be handled easily with this software.
When new employees join the company, we update the Employee Master and follow it with Leave
Opening for the employees. We can do this in a couple of ways in Pocket HRMS-
### Leave Opening Manual Entry
In case the Admin wants to make Leave Entry for the database employees, follow this process-
1. Login to Pocket HRMS on next.pockethrms.com
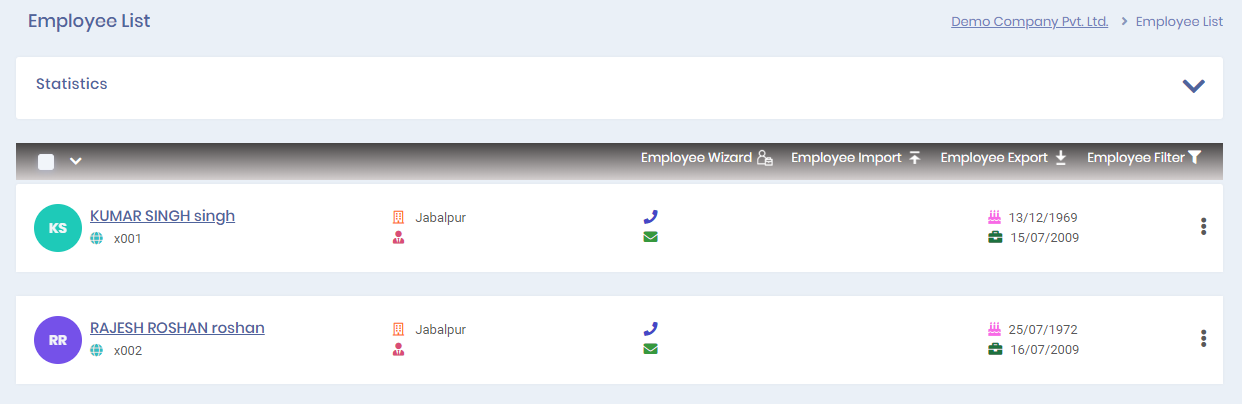
2. Click on **Employee →** Select **Employee List** and click on the required Employee
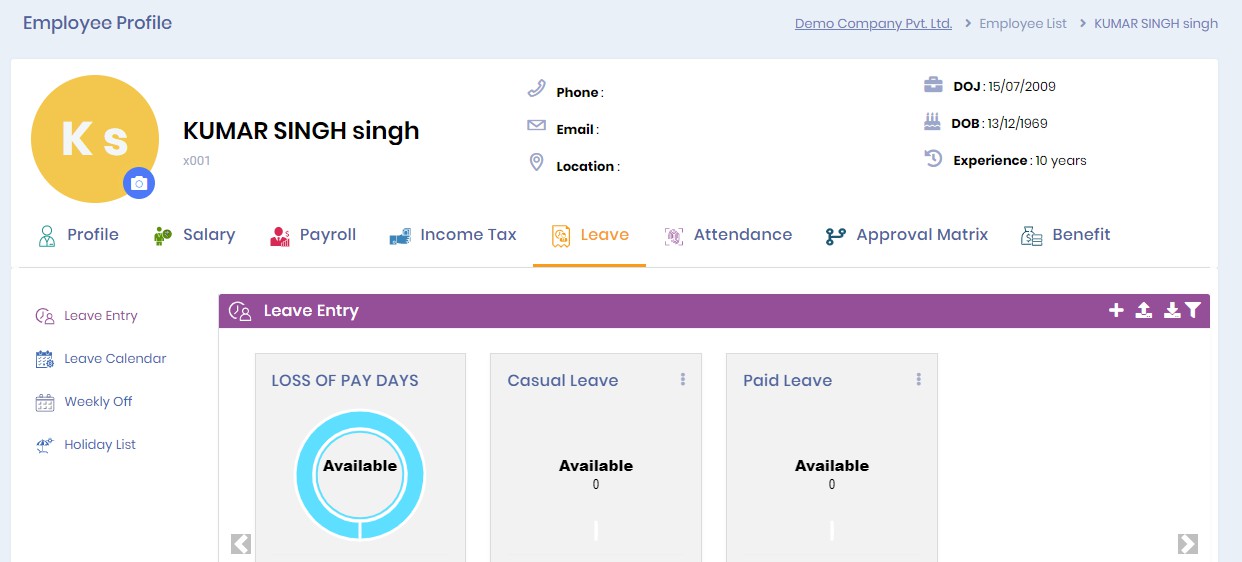
3. In the Employee Profile, select the **Leave** Tab. From here you can see the types of leaves available. You can easily set Leave opening by selecting the **Three Dots** Symbol on each of the leave types
4. Now, you can enter the Leave Opening and Credit details. Click Save and repeat the process for other leave types as required.
5. You are done. Great Work!
### Leave Opening Import
Pocket HRMS also allows you to set Leave Opening for multiple employees simultaneously by importing Excel Files (.xlsx format only). The process is very simple and user-friendly. Let us see how we can use Leave Opening Import tool-
1. Login to next.pockethrms.com
2. Select **Leave →** Under **Import**, choose **Leave Opening**
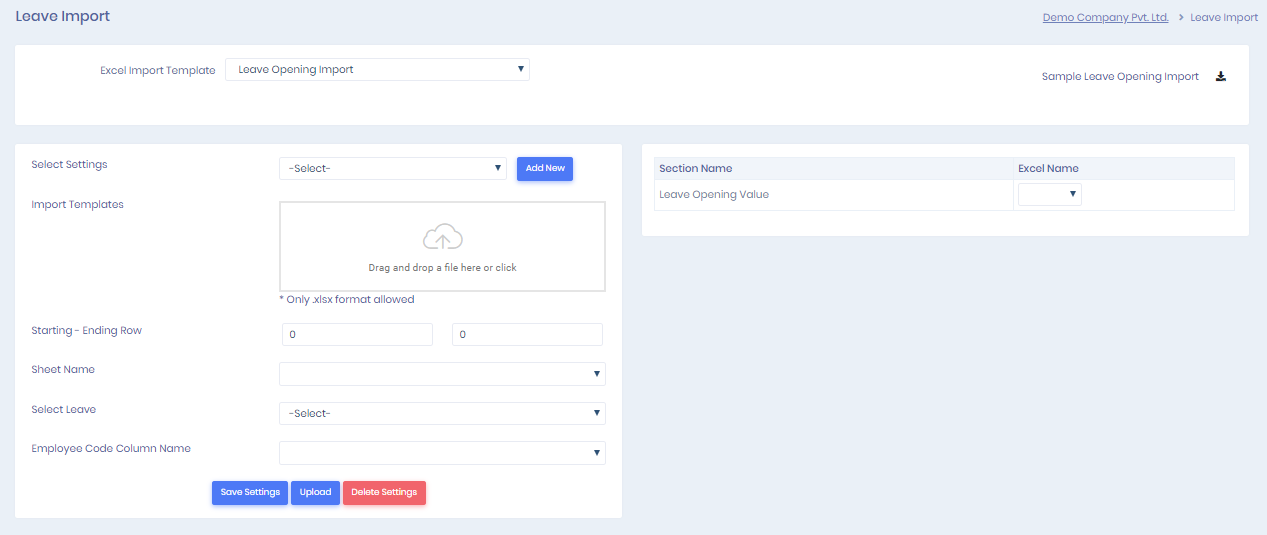
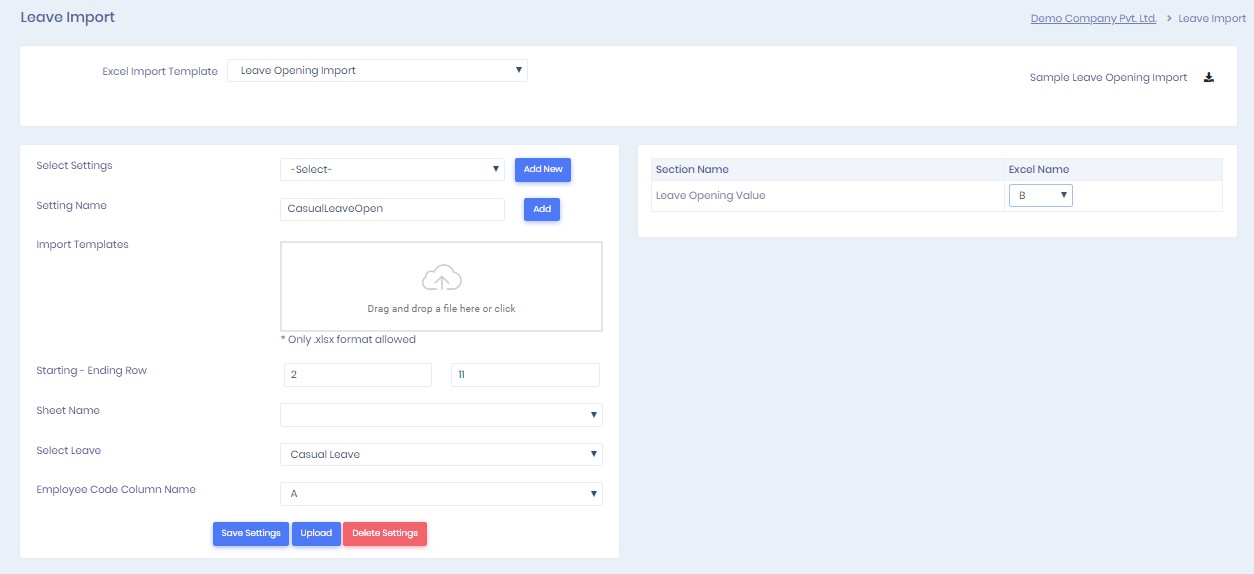
3. In the new page, we will first setup the setting. We will be using the **Sample Excel File** as an example which can be downloaded from this page itself.
1. Click on Add New and type a setting Name. Select Add to finalize the setting name.
2. Fill the appropriate fields as per your excel file. We have filled the data as per the sample excel file mentioned earlier.
3. Click on Save Settings. Now, the setting is ready to be used.
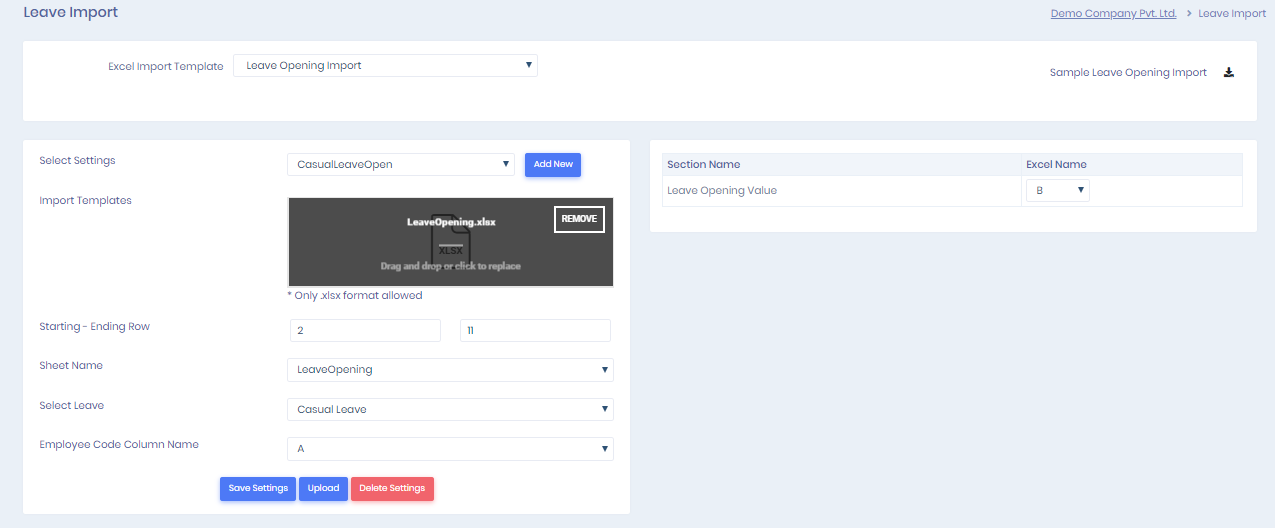
4. Let’s come back to Leave Debit Import Utility or just hit Refresh. Select your setting and the fields will auto load.
5. Upload the excel file and sheet name will be selected automatically. You can also change the sheet name as desired.
6. Click Upload File and we’re done!
Remember that you do only need to setup a setting once to reuse whenever you require for future use.
{% embed url="" %}
For any queries, contact